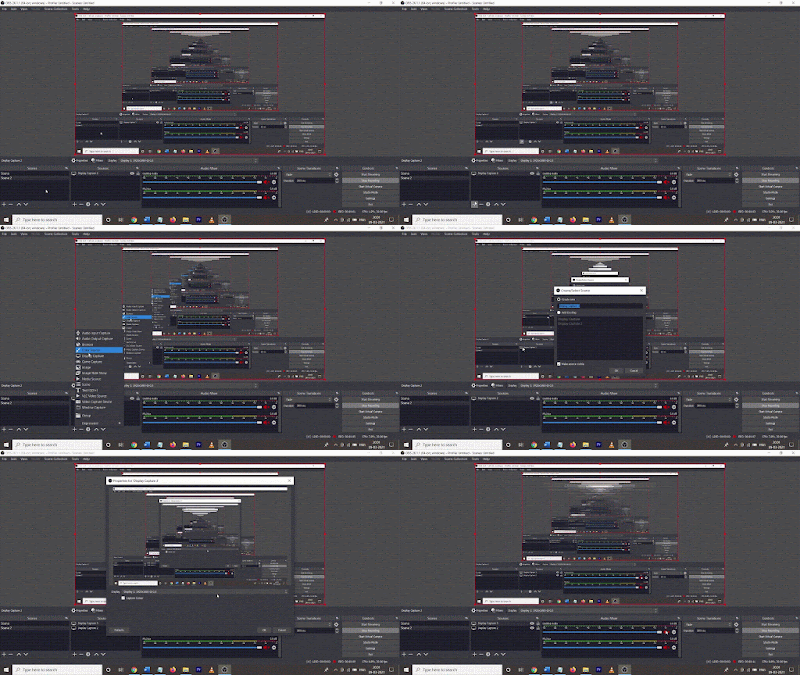
Follow the steps given below to record your screen with OBS :
Step 1: It is obvious that to record your screen with OBS studio, the first thing you need is the OBS studio itself. So, click here, and you will be redirected to the official download page of OBS studio.
Step 2: After downloading the software, install it on your system like any other application.
Step 3: Open the OBS studio. On opening the OBS studio for the first time, you will see a black screen with a bunch of options in the toolbar.
Step 4: To record your screen with OBS, you need to set Scenes and Sources.
Step 5: In the bottom left corner, you will see the scenes section. Notice that a default scene is already present there. If you want, you can use the default scene or create a new one. Click on the + icon to create a new scene. Choose a name for your new scene and click Ok as shown in the below animation.
Step 6: After this, you need to add a source inside the scene. To add a source, click on the + icon under the Sources section. After clicking on the + icon, select Display capture.
Step 7: Click Ok on the box that pops up.
Step 8: Till now, you’ve successfully set up your scenes and sources. Now, you need to select the folder where you want your recordings to be saved.
Step 9: To select the output folder, click on the Settings options in the bottom right corner of the OBS window. Then choose the Output tab and set the output path as shown in the below animation.
Step 10: With this, you’re all set to record your screen. Every time you need to record your screen, just click on the Start Recording button at the bottom right.
Step 11: Click on the Stop Recording button when you’re done, and your video will be saved in your destination folder.
This article was written by Harry on their website CodeWithHarry


0 Comments